When you first boot your machine and select the Live Media to boot you will be presented with the Grub boot menu

You can normally select the first option and everything will work as expected, but occasionally you might be running hardware that requires special firmware that is not directly available and if that is the case you could try to boot in “failsafe” mode by selecting the second option and press enter.
You will then see quite a lot of text scrolling up your screen as the system initializes and begins to configure itself to your hardware, this is normal.

When this finishes you will first see a blank screen, this is normal as the desktop is being created/configured and you will see a message in the top left corner saying this.

As the desktop is configured all the required components will be loaded.
And finally you will be looking at a desktop in the live session.

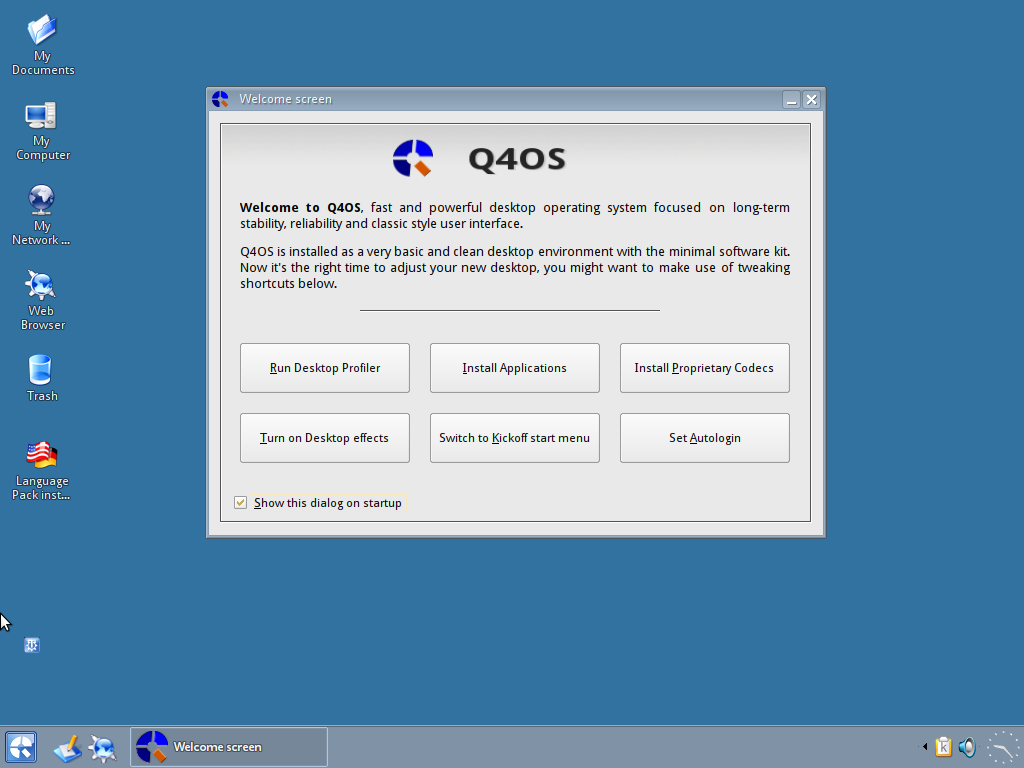
We will explore the Live desktop in another guide, but for now we can just close the welcome screen and double click the “Install Q4OS” icon to proceed with the installation.
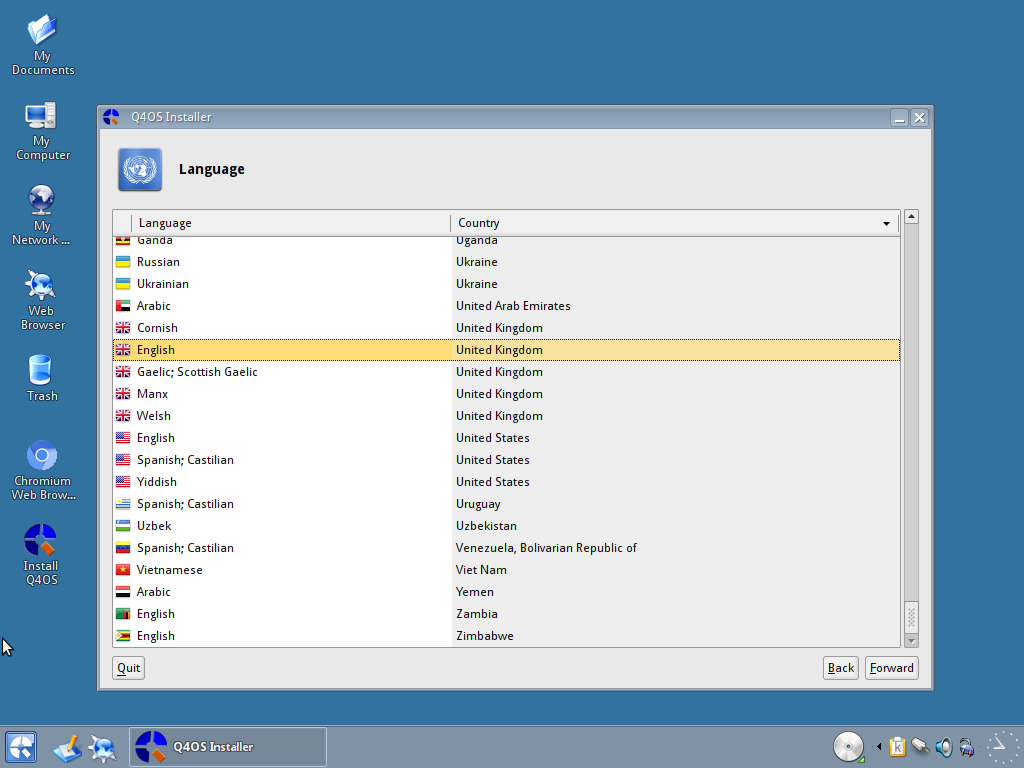
The first page that appears is to select the language you want to use, I am in the UK and my first language is English so I select that and click on “forward”.
Next you can select your own location and timezone, if you already have a network connection this should be set correctly, but you can change it to your preference.

Next we can choose our keyboard, there is an area to test the keys are working correctly, use this and make sure you select the correct one as it could cause some issues if not set properly.

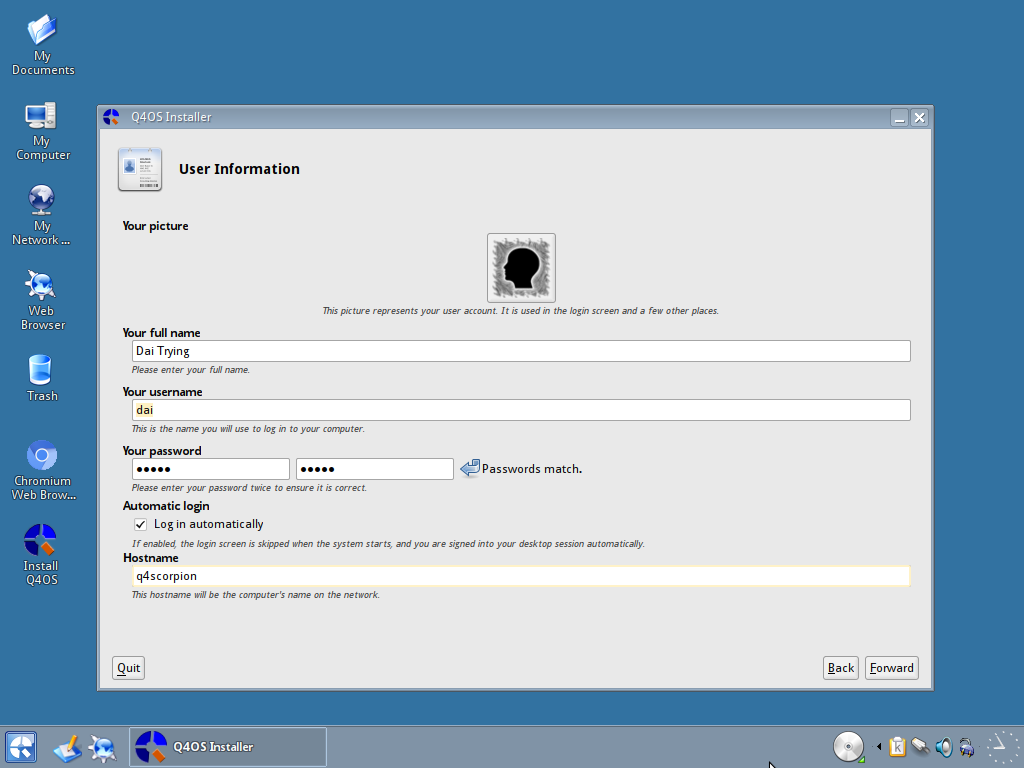
Next we can choose our user information, Your full name, the username you wish to use, a password (set according to your own security preferences) which must be entered twice, you can set Q4OS to log-in automatically if you wish, and lastly you can set the machines name for the local network. You can also select an image for your user if you have one available.
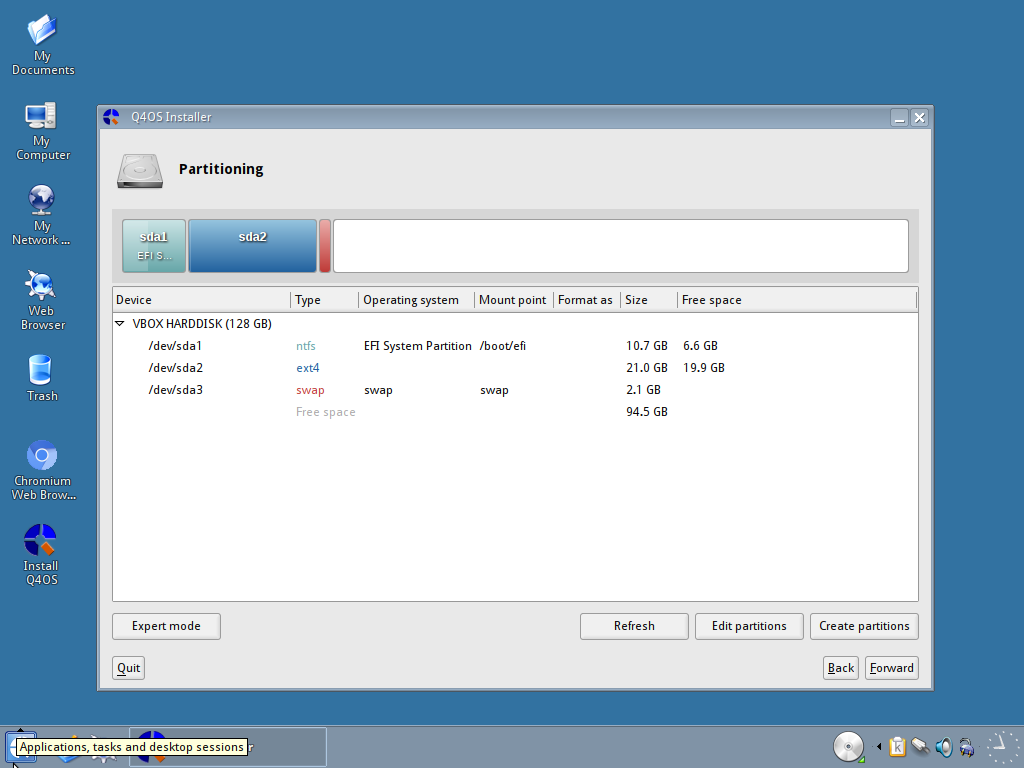
Now you can select the partition to install to, if you do not have any pre-made partitions you can create them in this here.

As you can see I have a windows partition already on this HDD and I want to leave that in place. I start by selecting “Edit Partitions” and the program GParted will open.

If you right click on the unallocated space in GParted and select “New” you will be presented with this dialog for creating a new partition.

Change the “New size” to the size you want for your system (I have used 20Gb) and then select “ext4” as your “File system”.

You can also label the partition for easy reference if you want to. When you are happy with the settings Click on “Add”. Now create another partition but this time change the size for your swap partition (between 2GB and 8GB depending on your needs) and select the “File system” as “linux-swap”, again you could label this if you wanted to I label mine as swap, again for easy reference. When you are happy with the settings click the “Add” button.

The partitions have not yet been written to the partition table and are waiting for confirmation, click the “Apply” button (tick) and your changes will be applied and the partitions will be created.

You will be asked to confirm you want to make the changes, select “Apply”.

When this is complete you will be presented with a confirmation dialog like this.

Select “Close” and you will be able to see the partitions in place.

You can now close GParted and you will be back to the partition section of the installer. Click on refresh to see the new partitions you have created.
One important thing to note here, The windows partition has been identified as a UEFI boot partition, it is in fact a Windows Xp partition I use for testing and so I need to correct the instruction for the installer to NOT use this partition. Double click the partition and you will see this “Edit partition” dialog.

Change the Mount point to be blank and make sure there is nothing entered in the Format as select box.

Select OK and this will prevent this partition from being used.
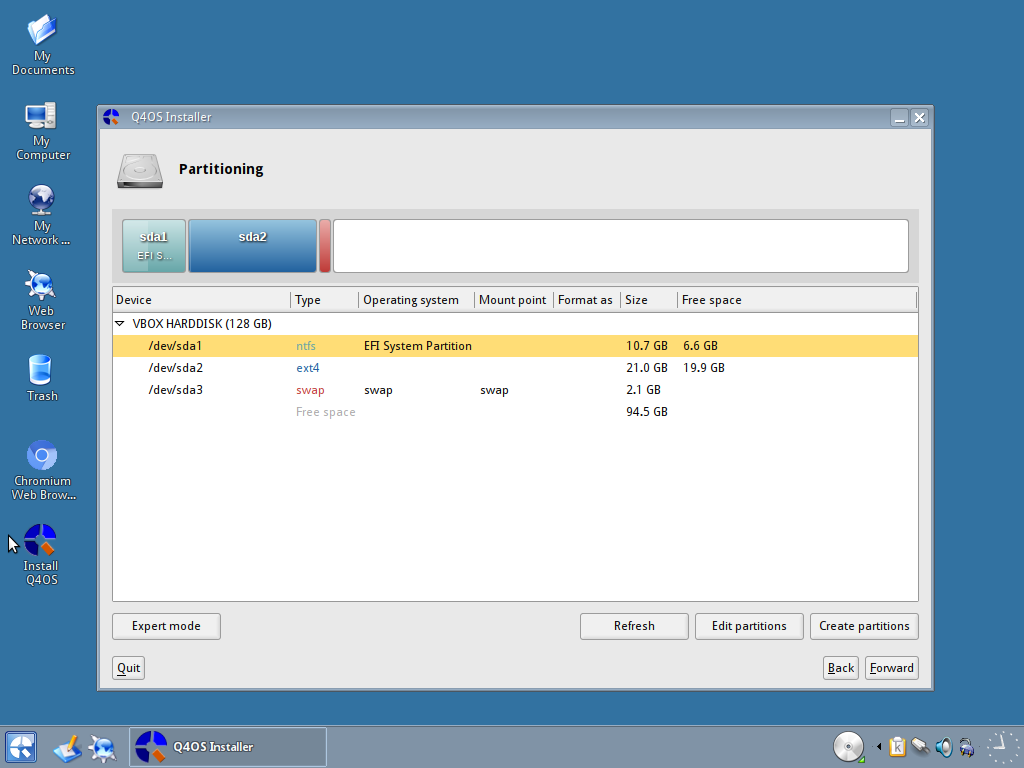
Now double click on the ext4 partition we just created and this time select “/” as the Mount point, and set “Format as” to ext4.

You can now click OK to set the options. Next we want to set the swap partition, double click on the swap partition and select the mount point as swap and the Format as to swap too.

Click ok to set them and check to make sure they are set correctly.

You can now click on the forward button.
You will now be asked if you want to install Grub, this is the package that will allow you to boot into your Linux Operating system and also give you the option to boot Windows instead. If you only have one HDD it is probably labelled as /dev/sda, but you can check the options in the drop down box if you know it should be different from the default.

If you are happy with the selection you can click the forward button.

Here you will see the summary of your installation settings, it will tell you (among other things) which partitions will be formatted and where they will be mounted and also if grub is being installed and the location for it. Double check everything is where and how you want it and when you are happy click the Apply button.
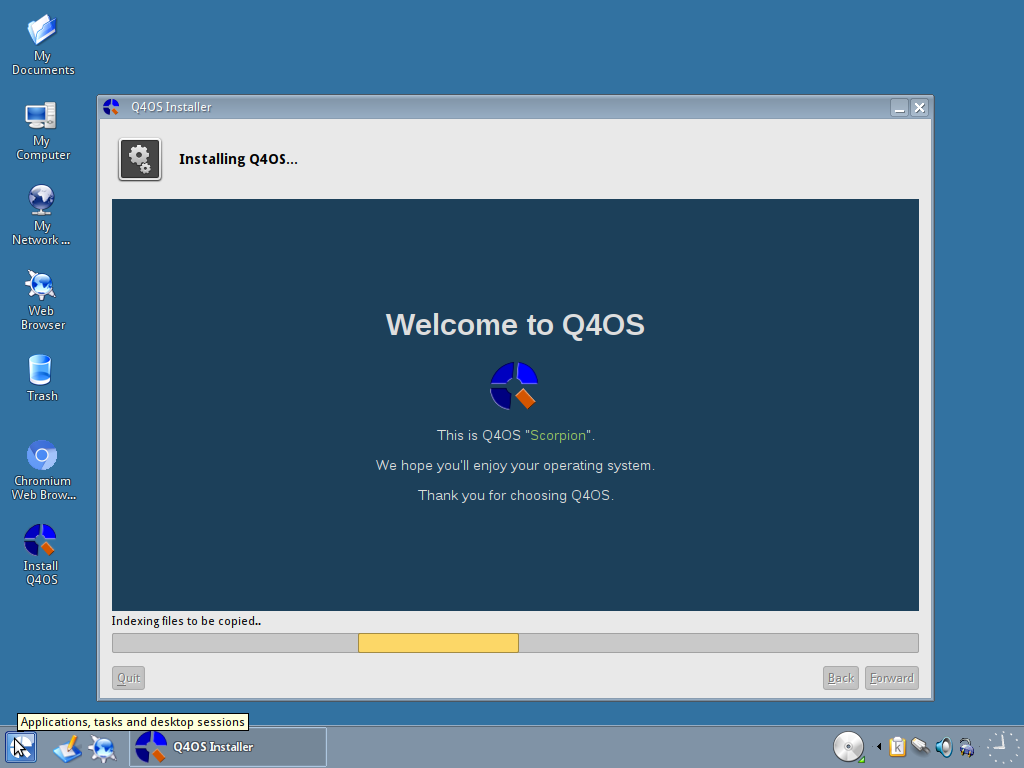
On the installation screen you will be given information regarding the install progress, and also some general information in the main window.

When the installation has completed you will be shown this dialog box asking if you want to boot into your new system, click on yes and remove the cd/usb from the drive and you will be booted into the fresh system.
The first screen you will see is the Grub screen.

As you can see I have the option to boot Windows instead of Linux, this is called multibooting and allows you to have several Operating Systems installed and choose which one you want to use.
There is a timeout option and if you do not press any keys you will boot into the first item on the grub list, this is usually set between 5 and 10 seconds and can be changed later on.
You will now be presented with some scrolling text as the system loads and then after a minute or so you will be at your desktop.
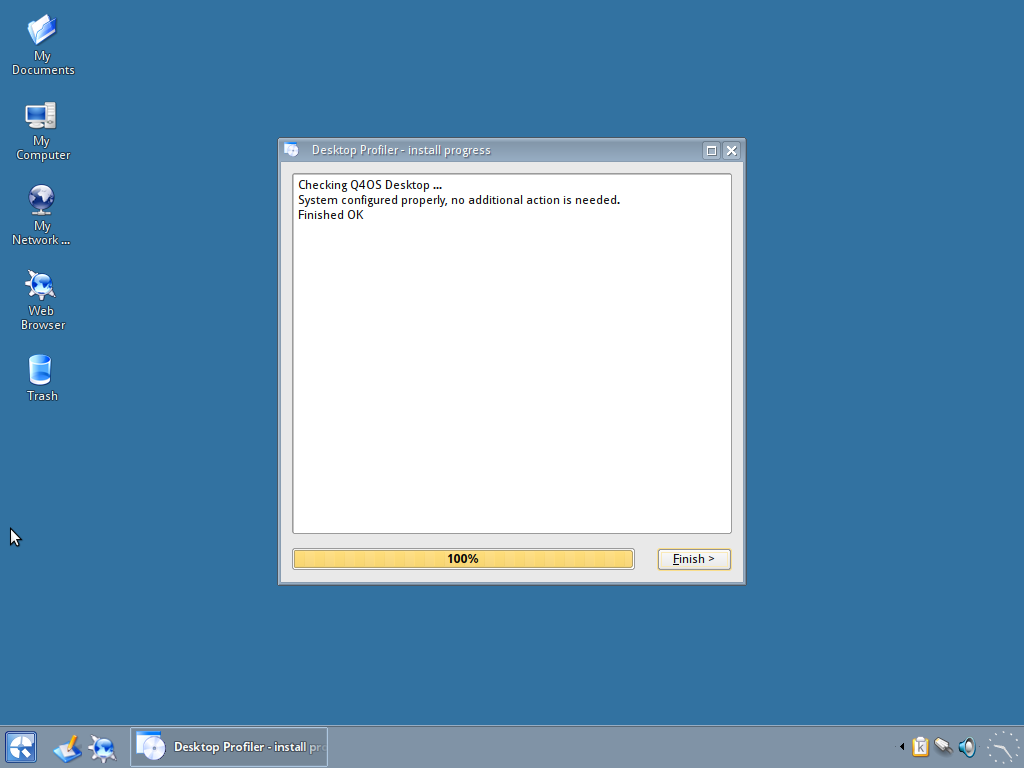
There are two quite important things to be done here, and if your install went smoothly and without errors you will be asked to install your language pack (internet connection required for this) and the the desktop profiler will run asking for your software preferences.

I have been using Linux for quite some time so I have a certain set of packages that I prefer to have on my system so I select the “Q4OS Pure” option which does not install any more software and I can set up my system manually. For most users (especially new ones) you would be recommended to install the “Q4OS Desktop” which will give you a Web browser, Office suite and some other recommended packages, there is also the “Q4OS Basic” option which is somewhere between the other two.
Select the preferred option and click the “install” button, the software will now be downloaded and installed for you, there is a progress bar to indicate the remaining time. When this has finished simply click on “Finish”
You have now completed all the installation steps and can use your new Operating System.
If you would like some hints and tips on what to do with your new Linux system please look through my other guides, I’m sure there will be something for you..